Step 2: Prepare the Coating Station
- In a wide, shallow dish or bowl, whisk together the flour, Panko breadcrumbs, garlic powder, onion powder, paprika, cayenne pepper (if using), salt, and black pepper. Mix well until all seasonings are evenly distributed.
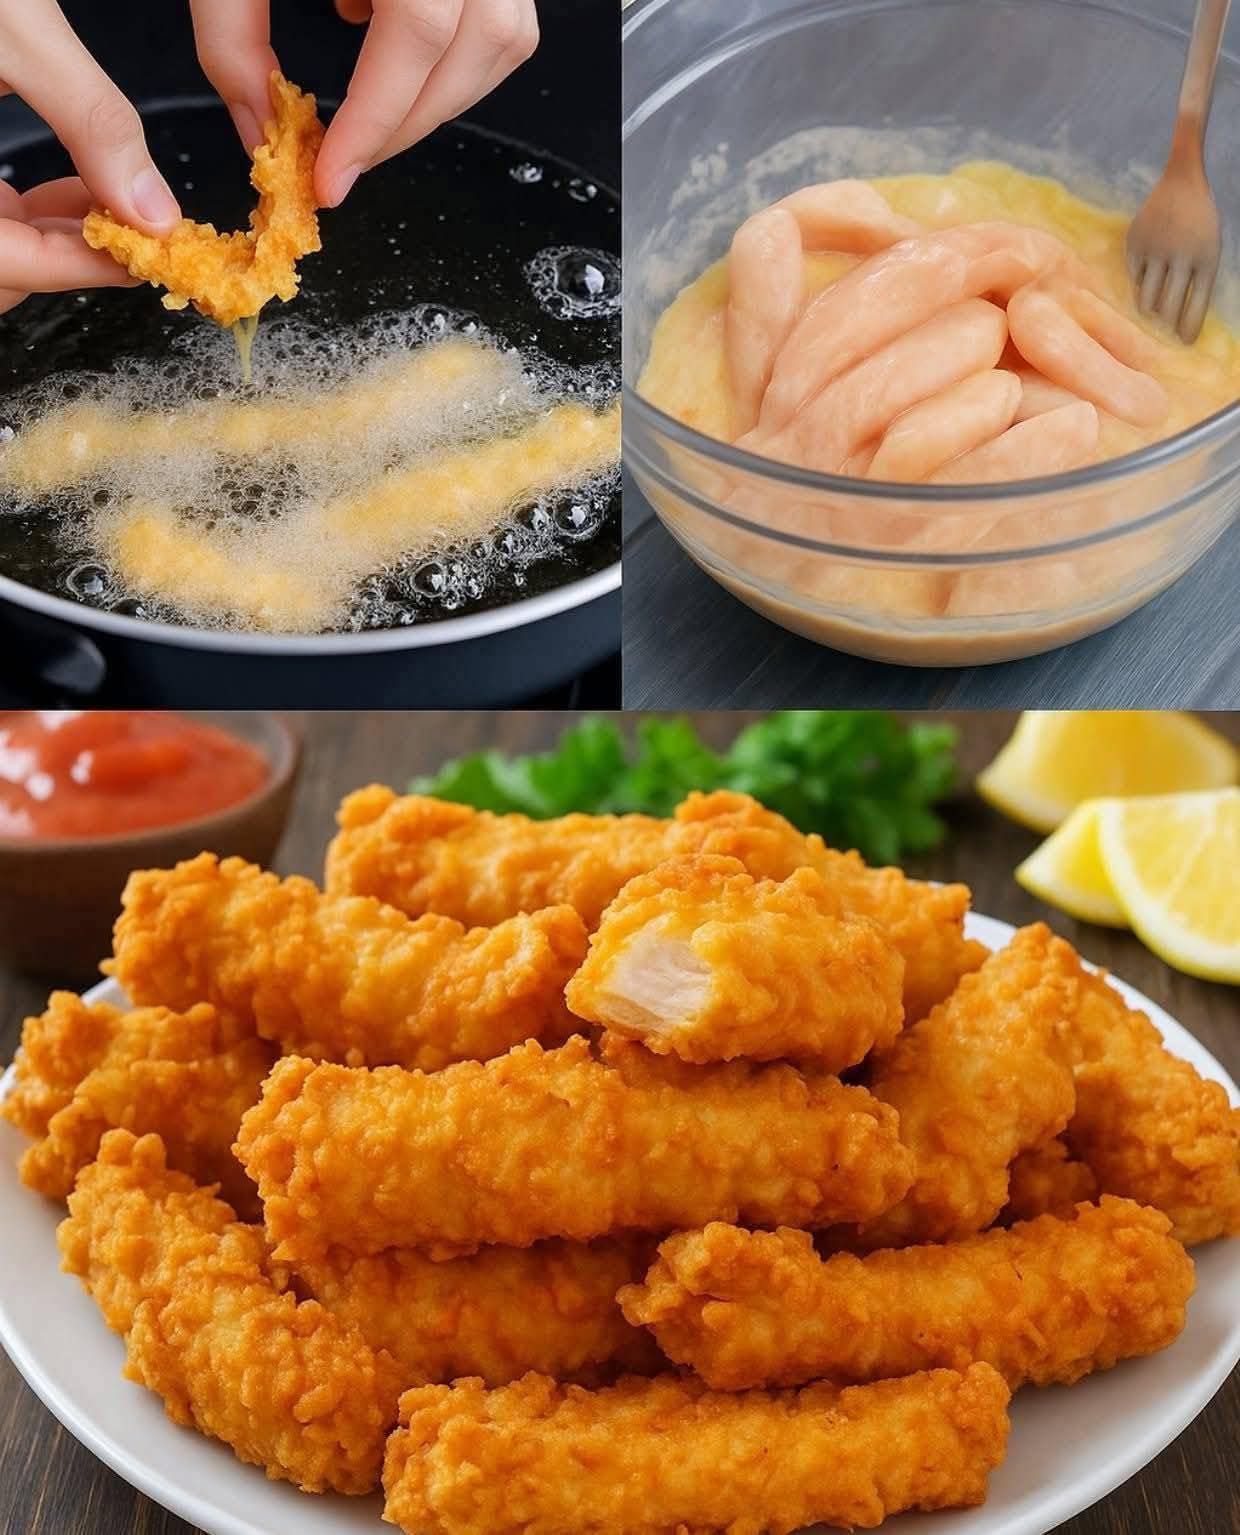
- Remove the chicken strips from the buttermilk, letting the excess liquid drip off, but do not pat them dry.
Step 3: Coat for Maximum Crisp
- Take one strip of chicken at a time and place it into the seasoned flour mixture.
- Press the coating firmly onto all sides of the chicken strip. You want a nice, thick layer! This pressing action is key to getting that classic "craggy" and crispy texture.
- Place the fully coated strips on a clean plate or baking sheet.
- Pro Tip: Let the coated chicken strips rest for 5-10 minutes before frying. This allows the moisture from the buttermilk to hydrate the flour, helping the coating set and prevent it from falling off in the oil.
Step 4: Fry to Golden Perfection
- Pour the oil into a large, deep pot or Dutch oven, ensuring it is about 1 to 1.5 inches deep.
- Heat the oil over medium-high heat until it reaches 350°F (175°C).2 (If you don't have a thermometer, drop a tiny pinch of flour in; if it sizzles vigorously, the oil is ready).
- Carefully place 3-4 chicken strips into the hot oil, making sure not to overcrowd the pan. Overcrowding will lower the oil temperature and result in soggy chicken.
- Fry for 5-7 minutes, flipping halfway, until they are deep golden brown and the internal temperature of the chicken reaches 165°F (74°C).
- Remove the cooked strips and place them on a wire rack set over a paper towel-lined baking sheet to drain the excess oil. This keeps them crispy!
- Repeat with the remaining chicken strips, ensuring the oil returns to 350°F between batches.
Step 5: Serve and Enjoy!
- Serve your piping hot, crispy chicken strips immediately with your favorite dipping sauces, such as Honey Mustard, BBQ Sauce, Ranch, or even a spicy Sriracha mayo! They also pair perfectly with a side of homemade fries or a fresh coleslaw.
💡 Tips for the Crispiest Results
- Panko is Your Friend: Panko breadcrumbs are flakier and absorb less oil than regular breadcrumbs, giving you an unparalleled crunch.
- The Buttermilk Soak: Don't skip the buttermilk! It’s the secret weapon for tender, juicy chicken and a perfect binder for the coating.
- Don't Rush the Coating: Press the flour mixture onto the chicken firmly to create a thick, 'shaggy' crust—this is what makes them extra crispy.
- Mind the Temperature: Using a thermometer to maintain the oil temperature around 3$350^{\circ}\text{F}$ is crucial.4 Too cool, and the chicken gets greasy; too hot, and the outside burns before the inside cooks
For Complete Cooking STEPS Please Head On Over To Next Page Or Open button (>) and don’t forget to SHARE with your Facebook friends.